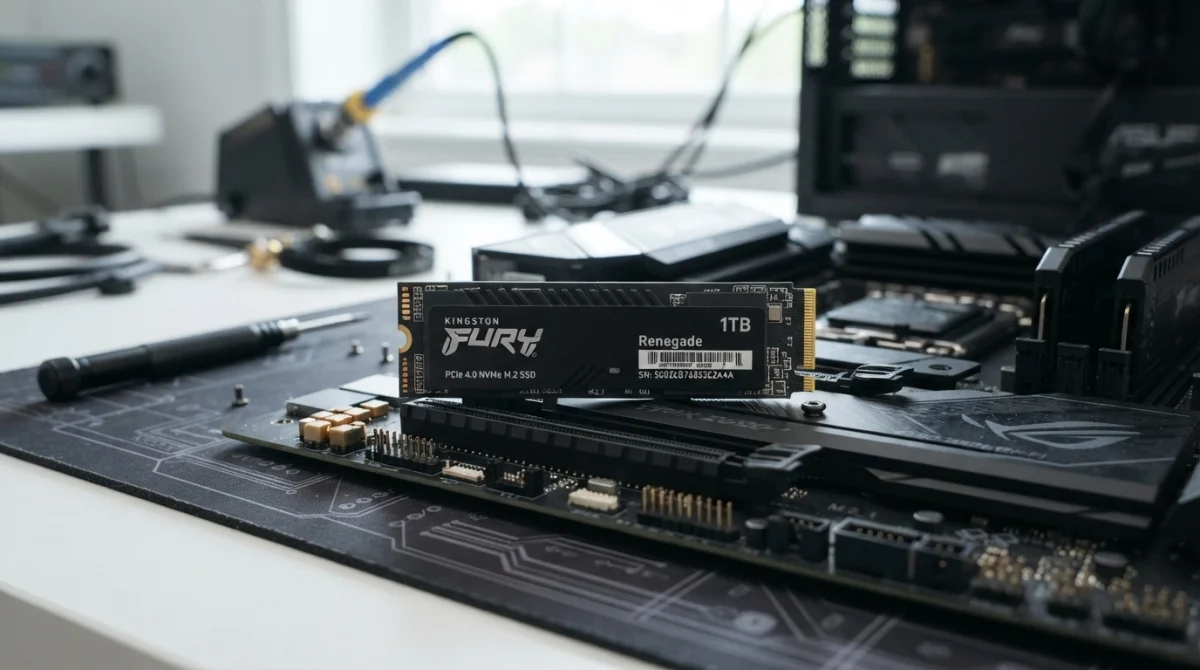
How to Clone Your Hard Drive to an SSD
Upgrading from a traditional hard disk drive (HDD) to a solid-state drive (SSD) is one of the easiest ways to improve your computer's performance. An SSD can significantly reduce Windows startup time, application loading times, and overall system responsiveness.
Instead of reinstalling Windows and all your applications from scratch, you can clone your existing hard drive to the SSD. Cloning creates an almost exact copy of your existing drive, including Windows, applications, settings, files, and partitions.
What You Need Before You Start
- An SSD with sufficient storage capacity.
- Your existing HDD or SSD containing Windows and your files.
- A SATA-to-USB adapter, USB enclosure, or suitable connection if the new SSD is not installed internally.
- Disk cloning software.
- A backup of your important files.
Step 1: Check the SSD Capacity
Before cloning, check how much space is being used on your existing drive.
For example, if your current 1TB hard drive contains only 300GB of data, you can normally clone it to a 500GB SSD, provided the cloning software can copy the partitions into the available space.
It is generally recommended to choose an SSD that is large enough to accommodate all the data on your existing system drive.
Step 2: Connect the SSD
Connect the new SSD to your computer.
If you are using a desktop computer, you can install the SSD directly into an available SATA or M.2 slot, depending on the type of SSD.
For a laptop, you may need a USB-to-SATA adapter or an external USB SSD enclosure to connect the new drive before cloning.
Step 3: Initialize the SSD if Required
Open Disk Management in Windows:
- Right-click the Start button.
- Select Disk Management.
- Locate the new SSD.
If Windows asks you to initialize the disk, use the same partition style as your existing system, normally GPT on modern UEFI-based computers.
Step 4: Install Disk Cloning Software
You need disk cloning software to copy the contents of the old drive to the new SSD.
Common cloning applications include:
- Clonezilla
- Macrium Reflect
- Acronis Cyber Protect Home Office
- Manufacturer-provided SSD migration tools
If your SSD manufacturer provides cloning software, it is often a convenient choice for migrating from an existing drive to that manufacturer's SSD.
Step 5: Select the Source Drive
Start the cloning software and select your existing Windows drive as the source disk.
The source disk is the drive that currently contains:
- Windows
- Your installed applications
- Your user accounts
- Your documents and personal files
- System and recovery partitions
Make sure you have selected the correct drive before continuing.
Step 6: Select the SSD as the Destination
Select the new SSD as the destination disk.
Step 7: Copy the Partitions
Most Windows installations contain several partitions, not just the main C: drive.
A typical UEFI Windows installation may contain:
- EFI System Partition
- Microsoft Reserved Partition
- Windows operating system partition
- Recovery partition
When cloning a boot drive, copy the necessary system partitions as well as the Windows partition. This helps ensure that the new SSD remains bootable.
Step 8: Adjust the Partition Size if Necessary
If the new SSD is smaller than the original drive, the cloning software may allow you to resize the Windows partition.
For example, you might be cloning a 1TB HDD containing 250GB of used data to a 500GB SSD. The cloning software can usually reduce the size of the Windows partition so that all required partitions fit on the smaller SSD.
If the new SSD is larger than the original drive, you can normally expand the Windows partition after cloning to use the additional space.
Step 9: Start the Cloning Process
Review the source and destination disks carefully before starting.
Once you are certain that the correct drives have been selected, start the cloning process.
The amount of time required depends on:
- Amount of data being copied
- Speed of the original drive
- Speed of the SSD
- USB connection speed, if applicable
- Computer performance
Do not disconnect the drives or shut down the computer while cloning is in progress.
Step 10: Shut Down the Computer
When cloning has completed successfully, shut down the computer completely.
If you are replacing the original HDD with the SSD, disconnect or remove the old drive before the first boot. This prevents Windows from accidentally booting from the old drive.
Step 11: Boot From the New SSD
Turn on the computer and enter the BIOS/UEFI setup if necessary.
Common keys for entering BIOS/UEFI include:
- Delete
- F2
- F10
- F12
- Esc
The correct key depends on your computer or motherboard manufacturer.
Check the boot order and make sure the new SSD is selected as the primary boot device.
Step 12: Check Windows
After Windows starts, verify that everything works normally.
- Check that Windows starts correctly.
- Open your commonly used applications.
- Check your documents and personal files.
- Verify that your desktop and Windows settings are intact.
- Check the available storage space on the SSD.
Step 13: Check the SSD Performance
Once Windows is running from the SSD, you should notice faster boot times and improved application responsiveness compared with a traditional HDD.
You can also use a disk benchmarking application to check the SSD's read and write performance.
What If Windows Does Not Boot?
If the computer does not boot from the cloned SSD, check the following:
- Make sure the SSD is detected in BIOS/UEFI.
- Check that the SSD is first in the boot order.
- Make sure the EFI/System Reserved partition was cloned.
- Check whether the original computer uses UEFI or Legacy BIOS mode.
- Use the cloning software's boot repair feature if available.
If necessary, you can reconnect the original drive temporarily and troubleshoot the cloned SSD without modifying your original installation.
After Successful Cloning
Do not immediately format or dispose of the original hard drive.
Keep the original drive safely stored for a few days or weeks until you are certain that the SSD is working correctly and all important files are available.
Once you have confirmed that everything is working properly, the old drive can be reformatted and reused as a secondary storage or backup drive.
Frequently Asked Questions
Can I clone a larger HDD to a smaller SSD?
Yes, provided the amount of data and required partitions can fit on the smaller SSD. You may need to shrink the Windows partition before cloning.
Will cloning copy Windows?
Yes. A proper system-disk clone can copy Windows, applications, user accounts, settings, files, and the necessary boot partitions.
Do I need to reinstall Windows after cloning?
Normally, no. The main advantage of cloning is that you can move your existing Windows installation to the SSD without performing a clean installation.
Can I continue using my old HDD after cloning?
Yes. However, if both drives contain identical Windows installations, it is best to disconnect the old drive during the first boot from the cloned SSD. After confirming that the SSD works correctly, the old drive can be reformatted and used for storage or backup.
Will my Windows product key be lost?
Normally, cloning the system drive does not remove Windows activation information. However, activation can depend on your Windows license and hardware configuration.
Conclusion
Cloning your hard drive to an SSD is a convenient way to upgrade your computer without starting over. By carefully selecting the correct source and destination drives, copying the required boot partitions, and verifying the SSD before erasing the original drive, you can migrate your existing Windows installation with minimal disruption.
Related Articles
 Hardware
How to Extend the Life of Your SSD
Practical tips to keep your SSD healthy and fast for years.
 Hardware
How to Diagnose a Dead Desktop PC: Step-by-Step Guide
PC won't power on at all? Beeps but no display? Work through this logical checklist to find the faulty component fast.
 Hardware
How to Fix a Noisy or Overheating Laptop Fan
Laptop sounds like a jet engine or shuts down when hot? Clean it, repaste it and fix your cooling with this guide.
Comments (0)
No comments yet. Be the first to share your experience!
Leave a comment