
How to Install a Printer Driver in Windows (the Right Way)
96% found this helpful
Before you start
Gather your printer's exact model number (on the front or back label, e.g. "HP LaserJet M404dn"). Bookmark the manufacturer's support site — that's where the real driver lives.
Option 1: Windows built-in (quickest)
- Connect the printer (USB) or ensure it's on the same WiFi.
- Settings → Bluetooth & devices → Printers & scanners → Add device.
- Pick your printer from the list and let Windows install a basic driver.
Good enough for simple printing, but you may miss scanner functions, ink-level monitoring and duplex options.
Option 2: Full driver from the manufacturer (recommended)
- Go to the vendor support page (HP, Canon, Epson, Brother).
- Search your model → Drivers & Downloads.
- Choose your Windows version and download the full feature software or the basic driver (avoid the giant "package" if you only print).
- Run the installer and follow the prompts — choose the connection type (USB, WiFi, network) when asked.
Option 3: Network printer by IP (advanced)
- Print a network configuration page from the printer to get its IP.
- Printers & scanners → Add device → Add manually → Add a printer using TCP/IP address.
- Enter the IP, pick the driver (Windows usually finds it), finish.
After installing
- Print a test page: printer → Printer properties → Print Test Page.
- Set your default printer in Settings → Bluetooth & devices → Printers & scanners (turn off "Let Windows manage my default printer").
- If it's a WiFi printer, reserve its IP in the router to prevent future "offline" problems.
Warning: Avoid "driver updater" utilities from random websites — they frequently install malware. Get drivers only from the manufacturer or Windows Update.
Related Articles
 Windows
How to Fix Windows 11 Slow Performance
Is your Windows 11 PC lagging, freezing or taking forever to boot? Follow this step-by-step guide to speed it up…
 Windows
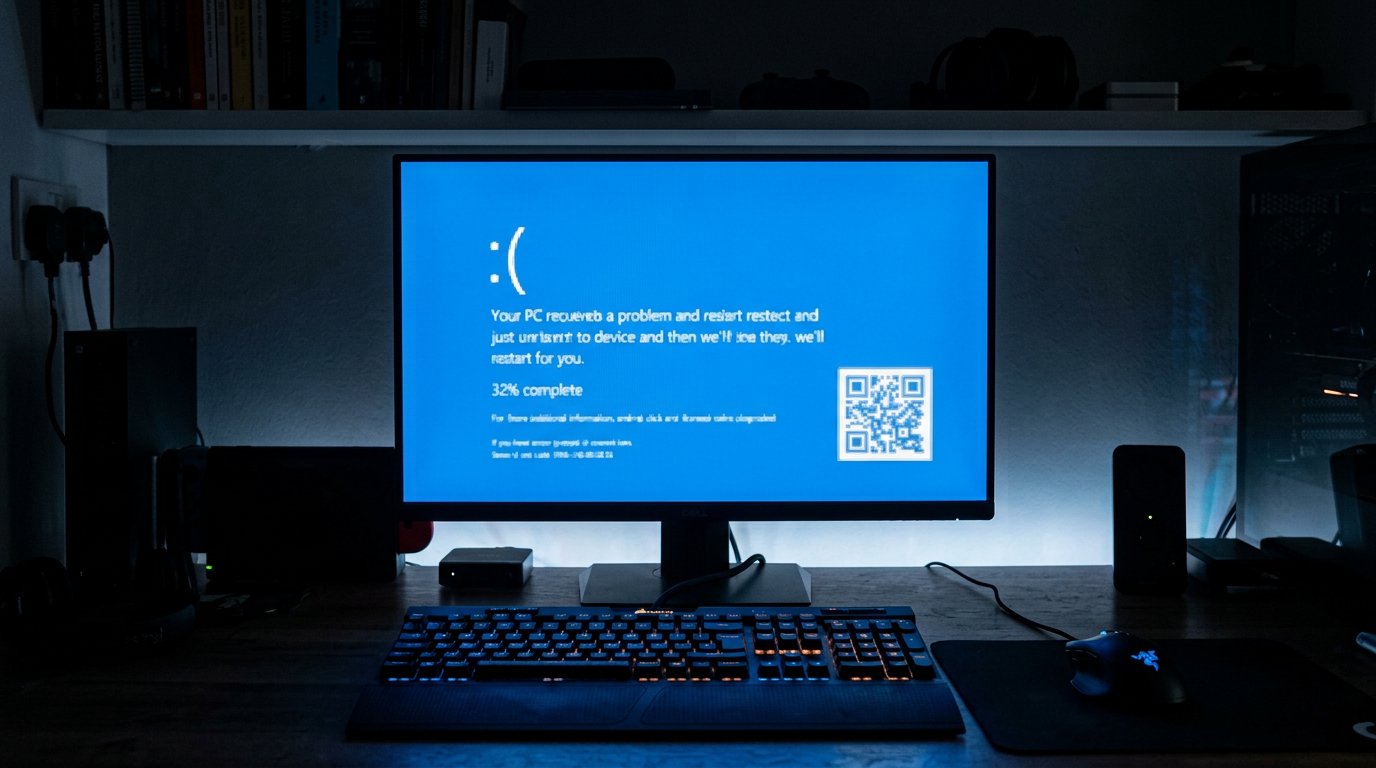
How to Fix Blue Screen of Death (BSOD) Errors on Windows
Stop errors like IRQL_NOT_LESS_OR_EQUAL, CRITICAL_PROCESS_DIED and MEMORY_MANAGEMENT. Learn what BSODs mean and how to…
 Windows
How to Reset a Forgotten Windows Password Without Losing Files
Locked out of your Windows 10 or 11 PC? Here are safe, legal ways to regain access without losing your files.
Comments (0)
No comments yet. Be the first to share your experience!
Leave a comment